PRE-EDITING SETUP
RELINK & UPDATE ASSETS
- All templates in Tersus package come with pre-included sample media files such as png and jpg type of images, svg graphics and for some webm and mp4 video files.
- In addition, to create some special functions and stylings, additional JavaScript and CSS (Cascading Style Sheet) files are also included.
FILES LOCATION
- All templates in the package have been each placed inside their own dedicated folder.
- Each folder contains the Muse project file, an Assets folder and an Images folder.
- Graphics and images type of files have been placed inside the Images folder, while the video files and additional JavaScript and CSS files have been placed inside the Assets folder.
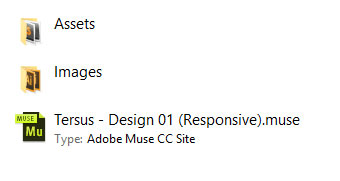
Content of Template Folder
CHECK THE LINK STATUS OF ASSETS
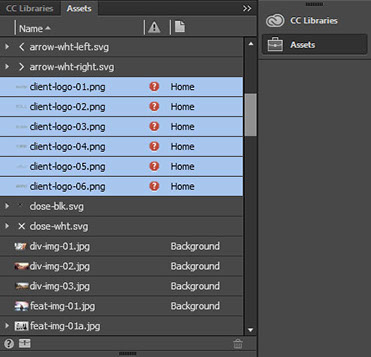
- The assets link status can be inspected from the Assets panel.
- The images below shows three different assets link status. From left to right, the first image shows that there are no problem with the link status, the second image shows that some assets need to be upadated in the panel, an the third one shows that there are missing assets that need to be relinked.


No Problem with the Assets Link
Some Assets Need to be Updated
Some Assets are Missing and Need to be Relinked
UPDATE ASSETS
- When an asset has been edited externally by using other application or replaced with a new asset but retain the same name, the asset information will need to be updated in Muse.
- In the Assets panel, asset that need to be updated will be marked with a 'gray-with-exclamation-mark' symbol.
- To update the asset, in the Assets panel, select the layer with the warning, right click and from the menu, select Update Assets.

Update an Asset in the Assets Panel
- While it is important to check the assets link status early on, throughout the editing process, make sure that the status is regularly checked. This is to make sure that the latest assets are the ones displayed in the preview.
- If there are several assets that need to be updated, after one asset has been updated Muse will automatically check further if it is possible to update the other assets. If all the assets files are placed inside the same folder, then it is possible for Muse to do so. Therefore, the same process does not have to be repeated for the other assets with warning.
RELINK ASSETS
- There are several reasons for the 'missing assets' problem. First, the asset has been deleted from the folder where it was initially placed in. Second, the asset has been renamed with another or a new name. Third, the folder of where the asset was placed in has been renamed. Fourth, the location of the particular asset is simply undetectable by Muse, due to a disorganized assets storage.
- it is very important that assets files are kept organized so that whenever there is a problem with the link status, the missing files can be easily found and relinked.
- In the Assets panel, asset that is missing will be marked with a 'red-with-question-mark' symbol.
- To update the asset, in the Assets panel, select the layer with the warning, right click and from the menu, select Relink.

Relink an Asset in the Assets Panel
- While it is important to check the assets link status early on, throughout the editing process, make sure that the status is regularly checked. This is to make sure that the latest assets are the ones displayed in the preview.
- If there are several assets that need to be relinked, after one asset has been relinked Muse will automatically check further if it is possible to relink the other assets. If all the assets files are placed inside the same folder, then it is possible for Muse to do so. Therefore, the same process does not have to be repeated for the other assets.
INSTALL FONT AWESOME
*Click HERE to learn how to edit the Font Awesome Icon
- Some of the icons in this template are generated from the Font Awesome icons library.
- Below are some sample of these icons.
Font Awesome Social Media Icons Samples
Font Awesome Other Various Samples
- The icons are integrated in Muse by implementing the font Self-Hosted method. Please read through to learn how to install the font and change an icon with other available icons from the Font Awesome library.
INSTALL FONT AWESOME TO THE OPERATING SYSTEM FONT LIBRARY
- Go to the Font Awesome website and download the compressed font package.
- IMPORTANT. This template will only work with Font Awesome 4. https://fontawesome.com/v4.7.0/


- Extract the compressed file then open the extracted folder.
- Inside the folder there will be a few more folders. Open the 'fonts' folder.

- Inside the fonts folder there are few type of font files.
- Double click the FontAwesome.otf, and on the dialog box click 'Install' or 'Install Font' to install the font.


Install Font Dialog Box in Windows
Install Font Dialog Box in Mac
INSTALL FONT AWESOME TO MUSE APPLICATION
- To install Font Awesome to Muse, open the application and go to the top menu, File > Add/ Remove Web Fonts.

Select Command
- A dialog box will be shown. Click the 'Get Started' button to continue.

- In the next dialog box, go to the 'Self-Hosted' tab and click the '+Add Fonts' button.

Select Button
- A new dialog box will be shown.
- On the box, click the 'Browse' button and select the 'fonts' folder from the Font Awesome download package folder.
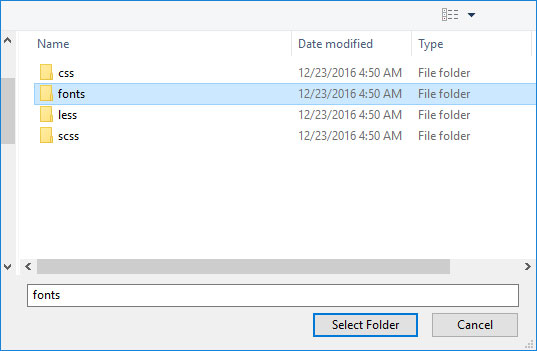
Select Folder

Select Button
- There will be 3 web compatible fonts found from the folder.
- In the dialog box, tick the checkbox and cick the 'Continue' button to finalize the installation process.

- If the installation process is succesful, Font Awesome Regular will be shown in the list of installed fonts.

EDIT FONT AWESOME IN TEMPLATE
- Go to the Font Awesome Cheatsheet page to see all icons available in the Font Awesome library. https://fontawesome.com/v4.7.0/cheatsheet/

- To edit a Font Awesome icon, from the list, select a new icon and copy it.

- In Muse, select a Font Awesome icon, right click and select Paste to change the icon to the new selected one.

Old Icon
Copy & Paste to Replace Icon
New Icon
- Since the icon is technically a font, appearance attributes such as the color and size can be changed or set in the Text panel.
- Different states setting can also be applied to the icon. This can be done in the States panel.


Text Panel
States Panel